Chapter13 :초음파 거리재기
1.Preparation
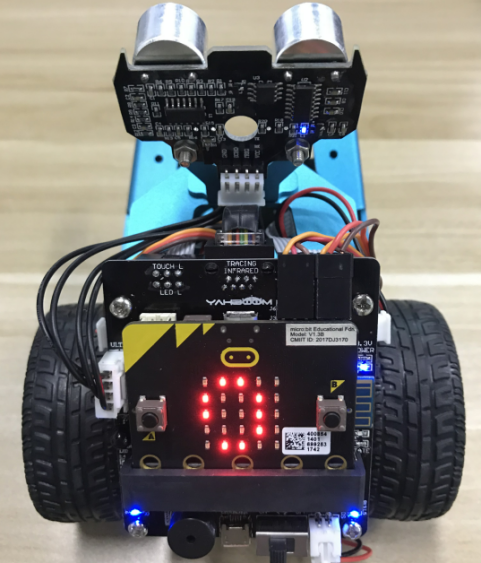
1.You should learn about the position of the Ultrasonic module in the body of hellobot;
2.You should learn about the principle of the Ultrasonic module.
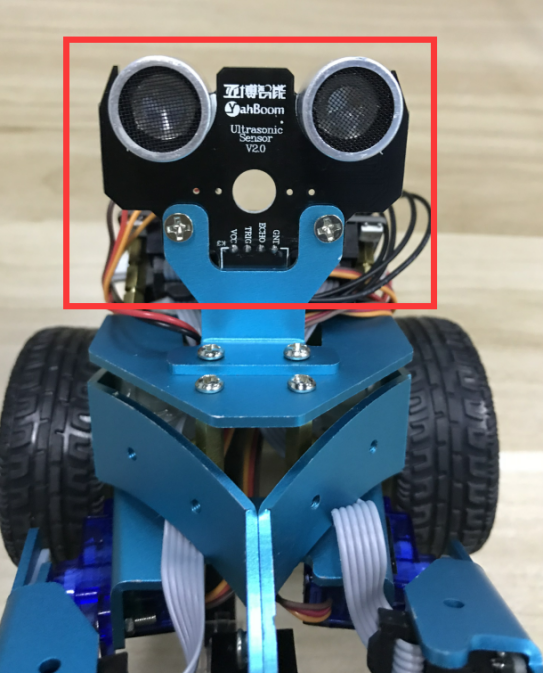
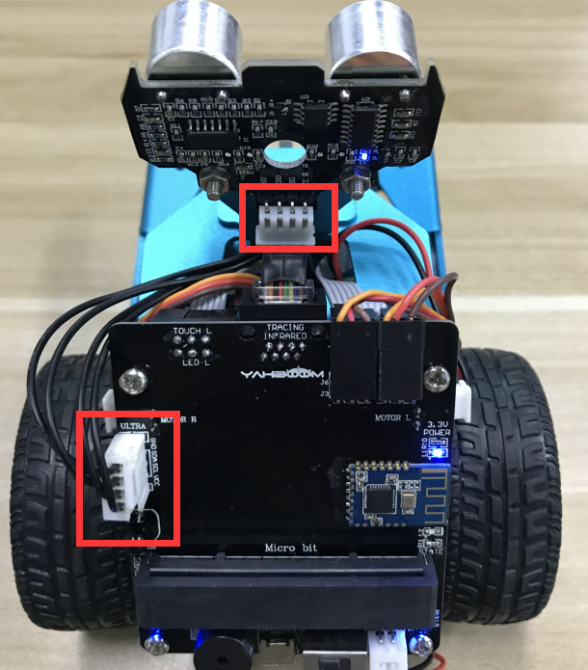
8-1-1 position of Ultrasonic module 8-1-2 position of wiring
Both the ultrasonic interface and the expansion board interface are designed with anti-reverse connection. The ultrasonic module is connected to the left side of the expansion board by the 4Pin cable.

8-1-3 schematic of ultrasonic module
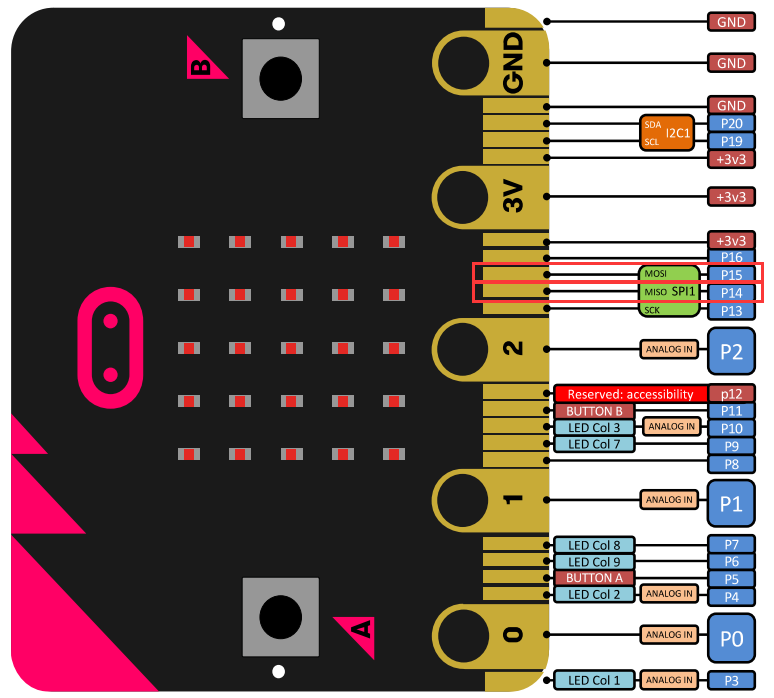
8-1-4 Pins of Micro:bit
From the schematic diagram. You can see that Pin _Trig of ultrasonic module(SCL) is connected to P14 of Micro:bit, Pin_Echo of ultrasonic module(SDA) connected to P15 of Micro:bit.
Principle of ultrasonic module:
1)The ultrasonic module is a sensor that uses ultrasonic characteristics to detect the distance. It has two ultrasonic probes for transmitting and receiving ultrasonic waves. The range of measurement is 3-450 cm.
2)You need to input a high level signal of at least 10us to the Trig pin to trigger the ranging function of the ultrasonic module.
3)After the ranging function is triggered, the module will automatically send out 8 ultrasonic pulses with 40 kHz and automatically detect whether there is a signal return. This step is done internally by the module.
4)When the module detects an echo signal, the ECHO pin will output a high level. The high level duration is the time from when the ultrasonic wave is sent to when it returns. You can calculate the distance by using the time function to calculate the high level duration.
**Formula: Distance = High level duration * Speed of sound(340M/S)/2. **
2.Learning goals
In this course, we will learn how to measure distance by ultrasonic module,and display distance on Micro:bit dot matrix.
3.Programming
3.1 Programming online
1) You should use the USB cable to connect the micro:bit to the computer, at this point, the computer will have a micro:bit U disk. You need to open it, click micro:bit website, then entered the micro:bit website or you can enter the URL directly in your browser: http://microbit.org/
2) After entering the programming interface, you need to click Add package and copy the HelloBot package URL: https://github.com/lzty634158/HelloBot to the input field, click to confirm the add package. Then you can use the blocks of the HelloBot package.
3.2 Programming offline
- You can double-click to use it. As shown in the following figure.
2) After entering the programming interface, you need to click Add package and copy the HelloBot package URL: https://github.com/lzty634158/HelloBot to the input field, click to confirm the add package. Then you can use the blocks of the HelloBot package.
Note: The package only needs to be added once. If you have added packages in the previous lessons, this course does not need to be added repeatedly.

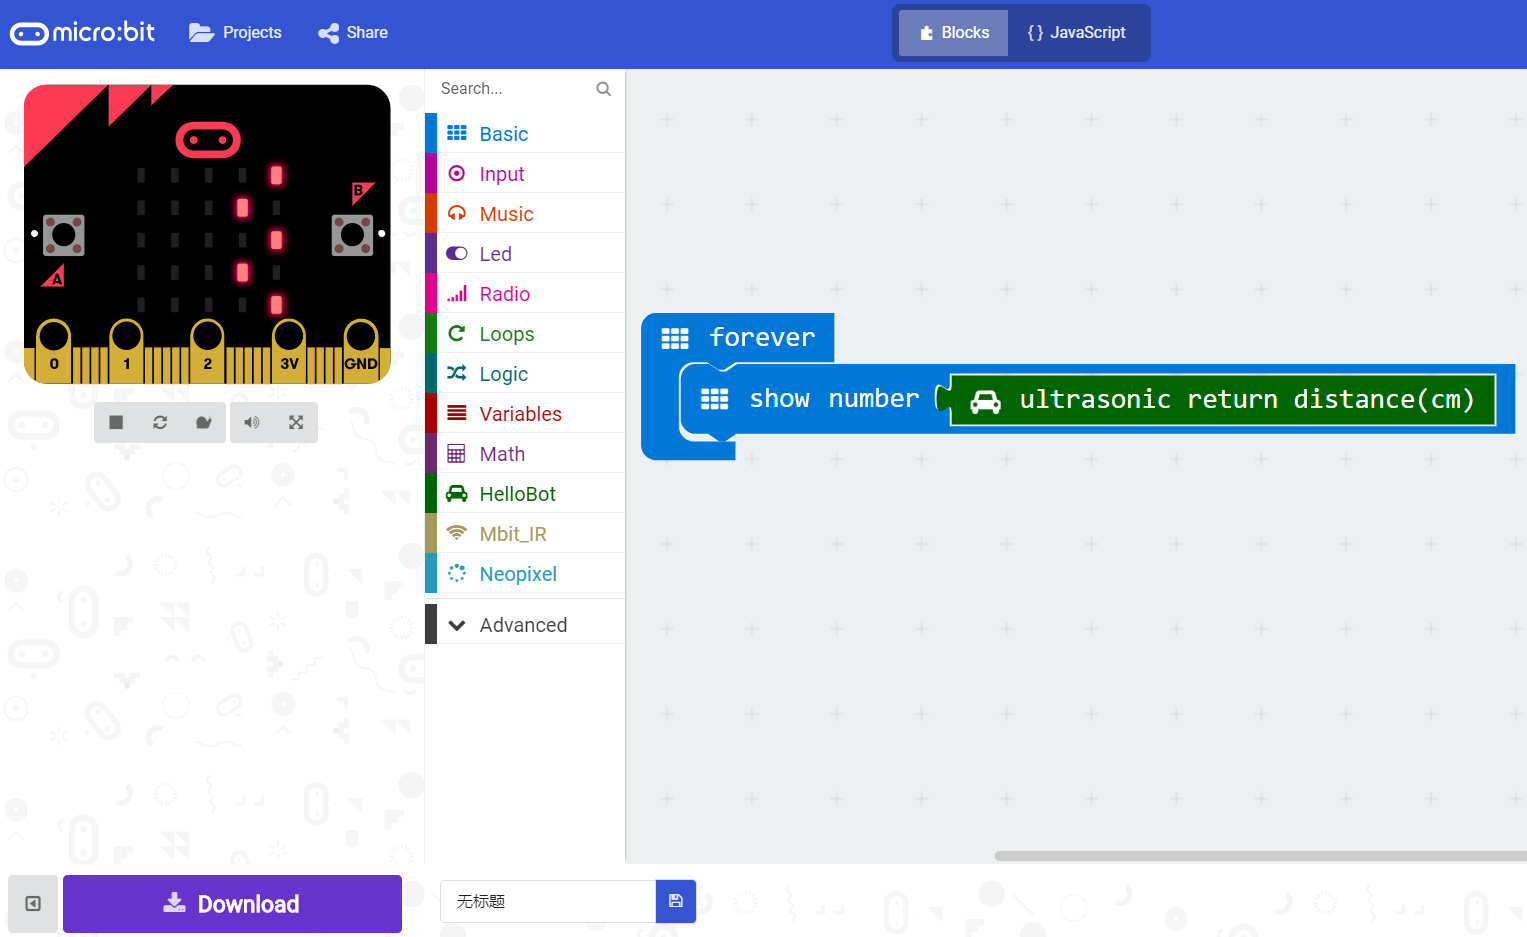
8-1-5 total program
The locations of blocks in the total program are shown in the following figure.
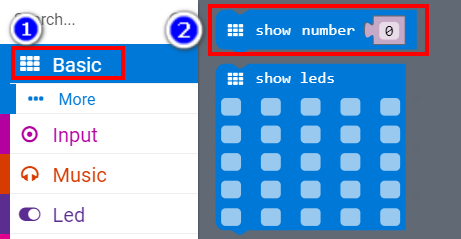
8-1-6
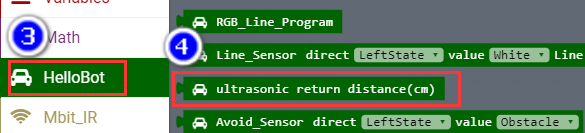
8-1-7
4.Download programming
You need to make sure that the micro:bit development board is connected to the computer. Then you should click on the download in the lower left corner as shown in P 8-1-8 to download the program to micro:bit.
8-1-8
5.Phenomenon
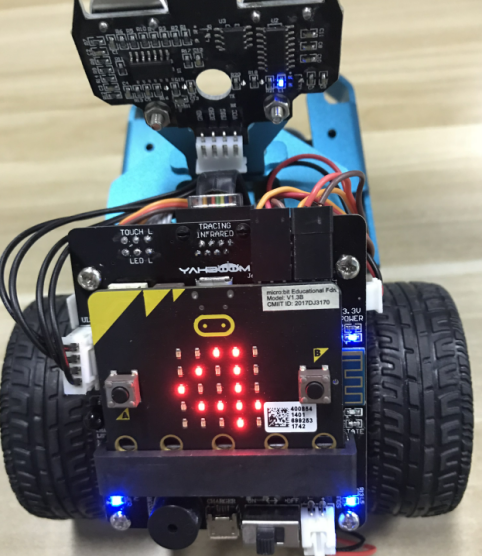
After the code is uploaded. You can see the distance measured by the ultrasonic module on the dot matrix. As shown in the following figure.
(Note:Since the expansion board uses multiple pins, there will be some influence between the pins, which will cause the number displayed on the dot matrix to be somewhat defective. This is normal phenomenon.)
8-1-9